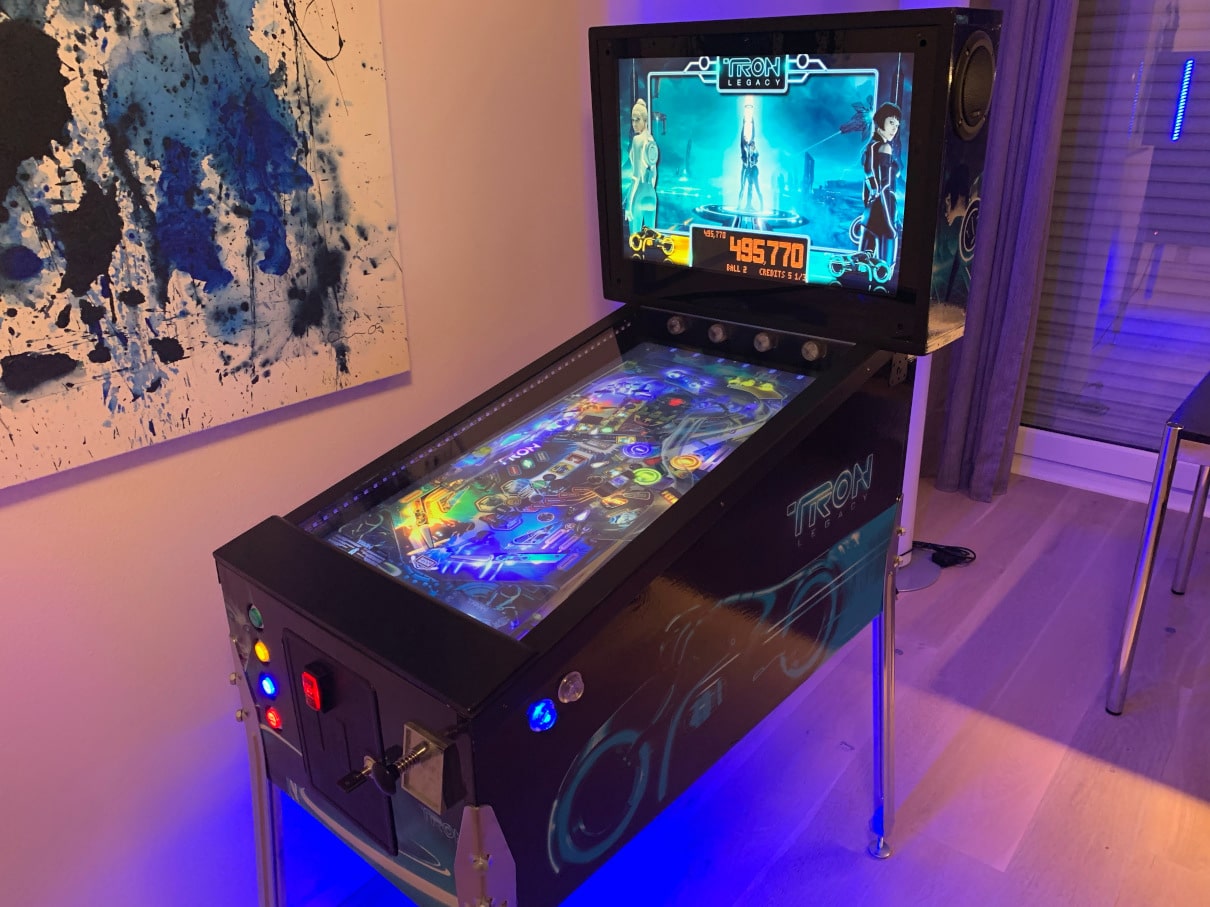
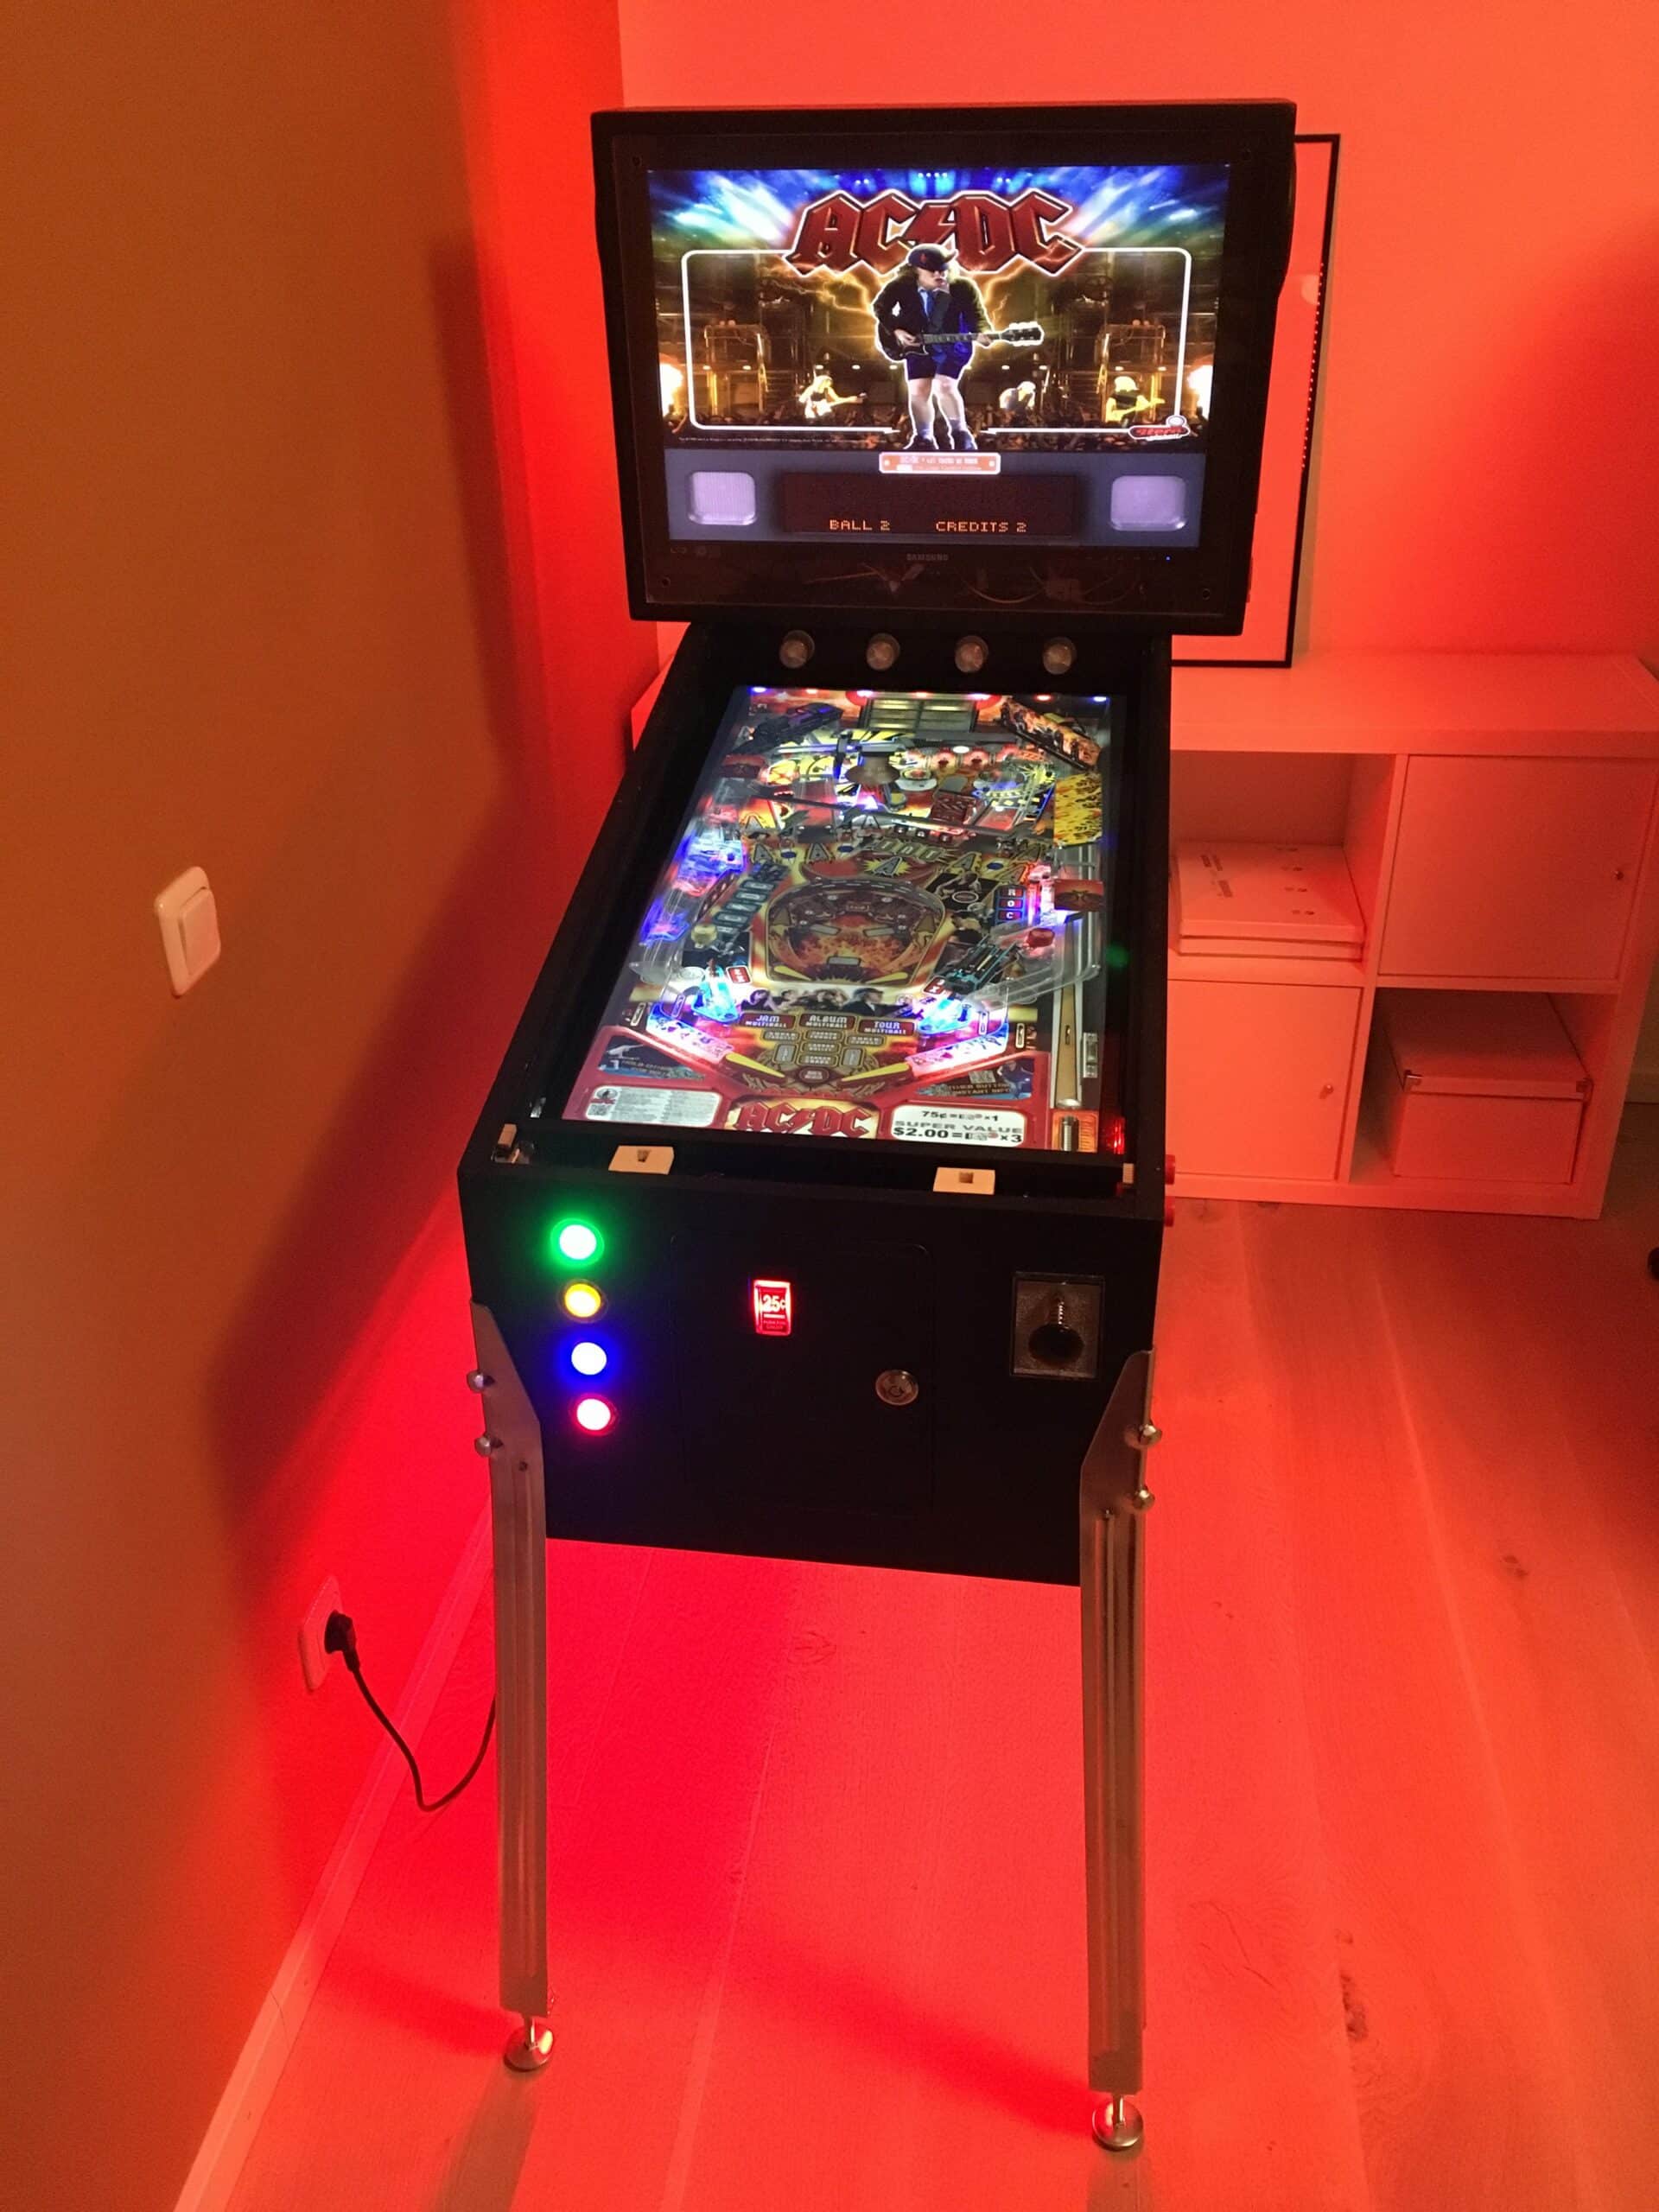
In this blog, I will be documenting the build of my “Virtual Pinball Cabinet” – a virtual pinball machine (VPIN). Hopefully this will become a good resource for your own pinball cabinet project.
These english tutorials are a translation of the existing german posts. I will translate all of them in the next couple of weeks. In the meantime please feel free to switch to “German” to see all posts and use the translator plugin (the result is crappy – but it will get you an idea…)
Till
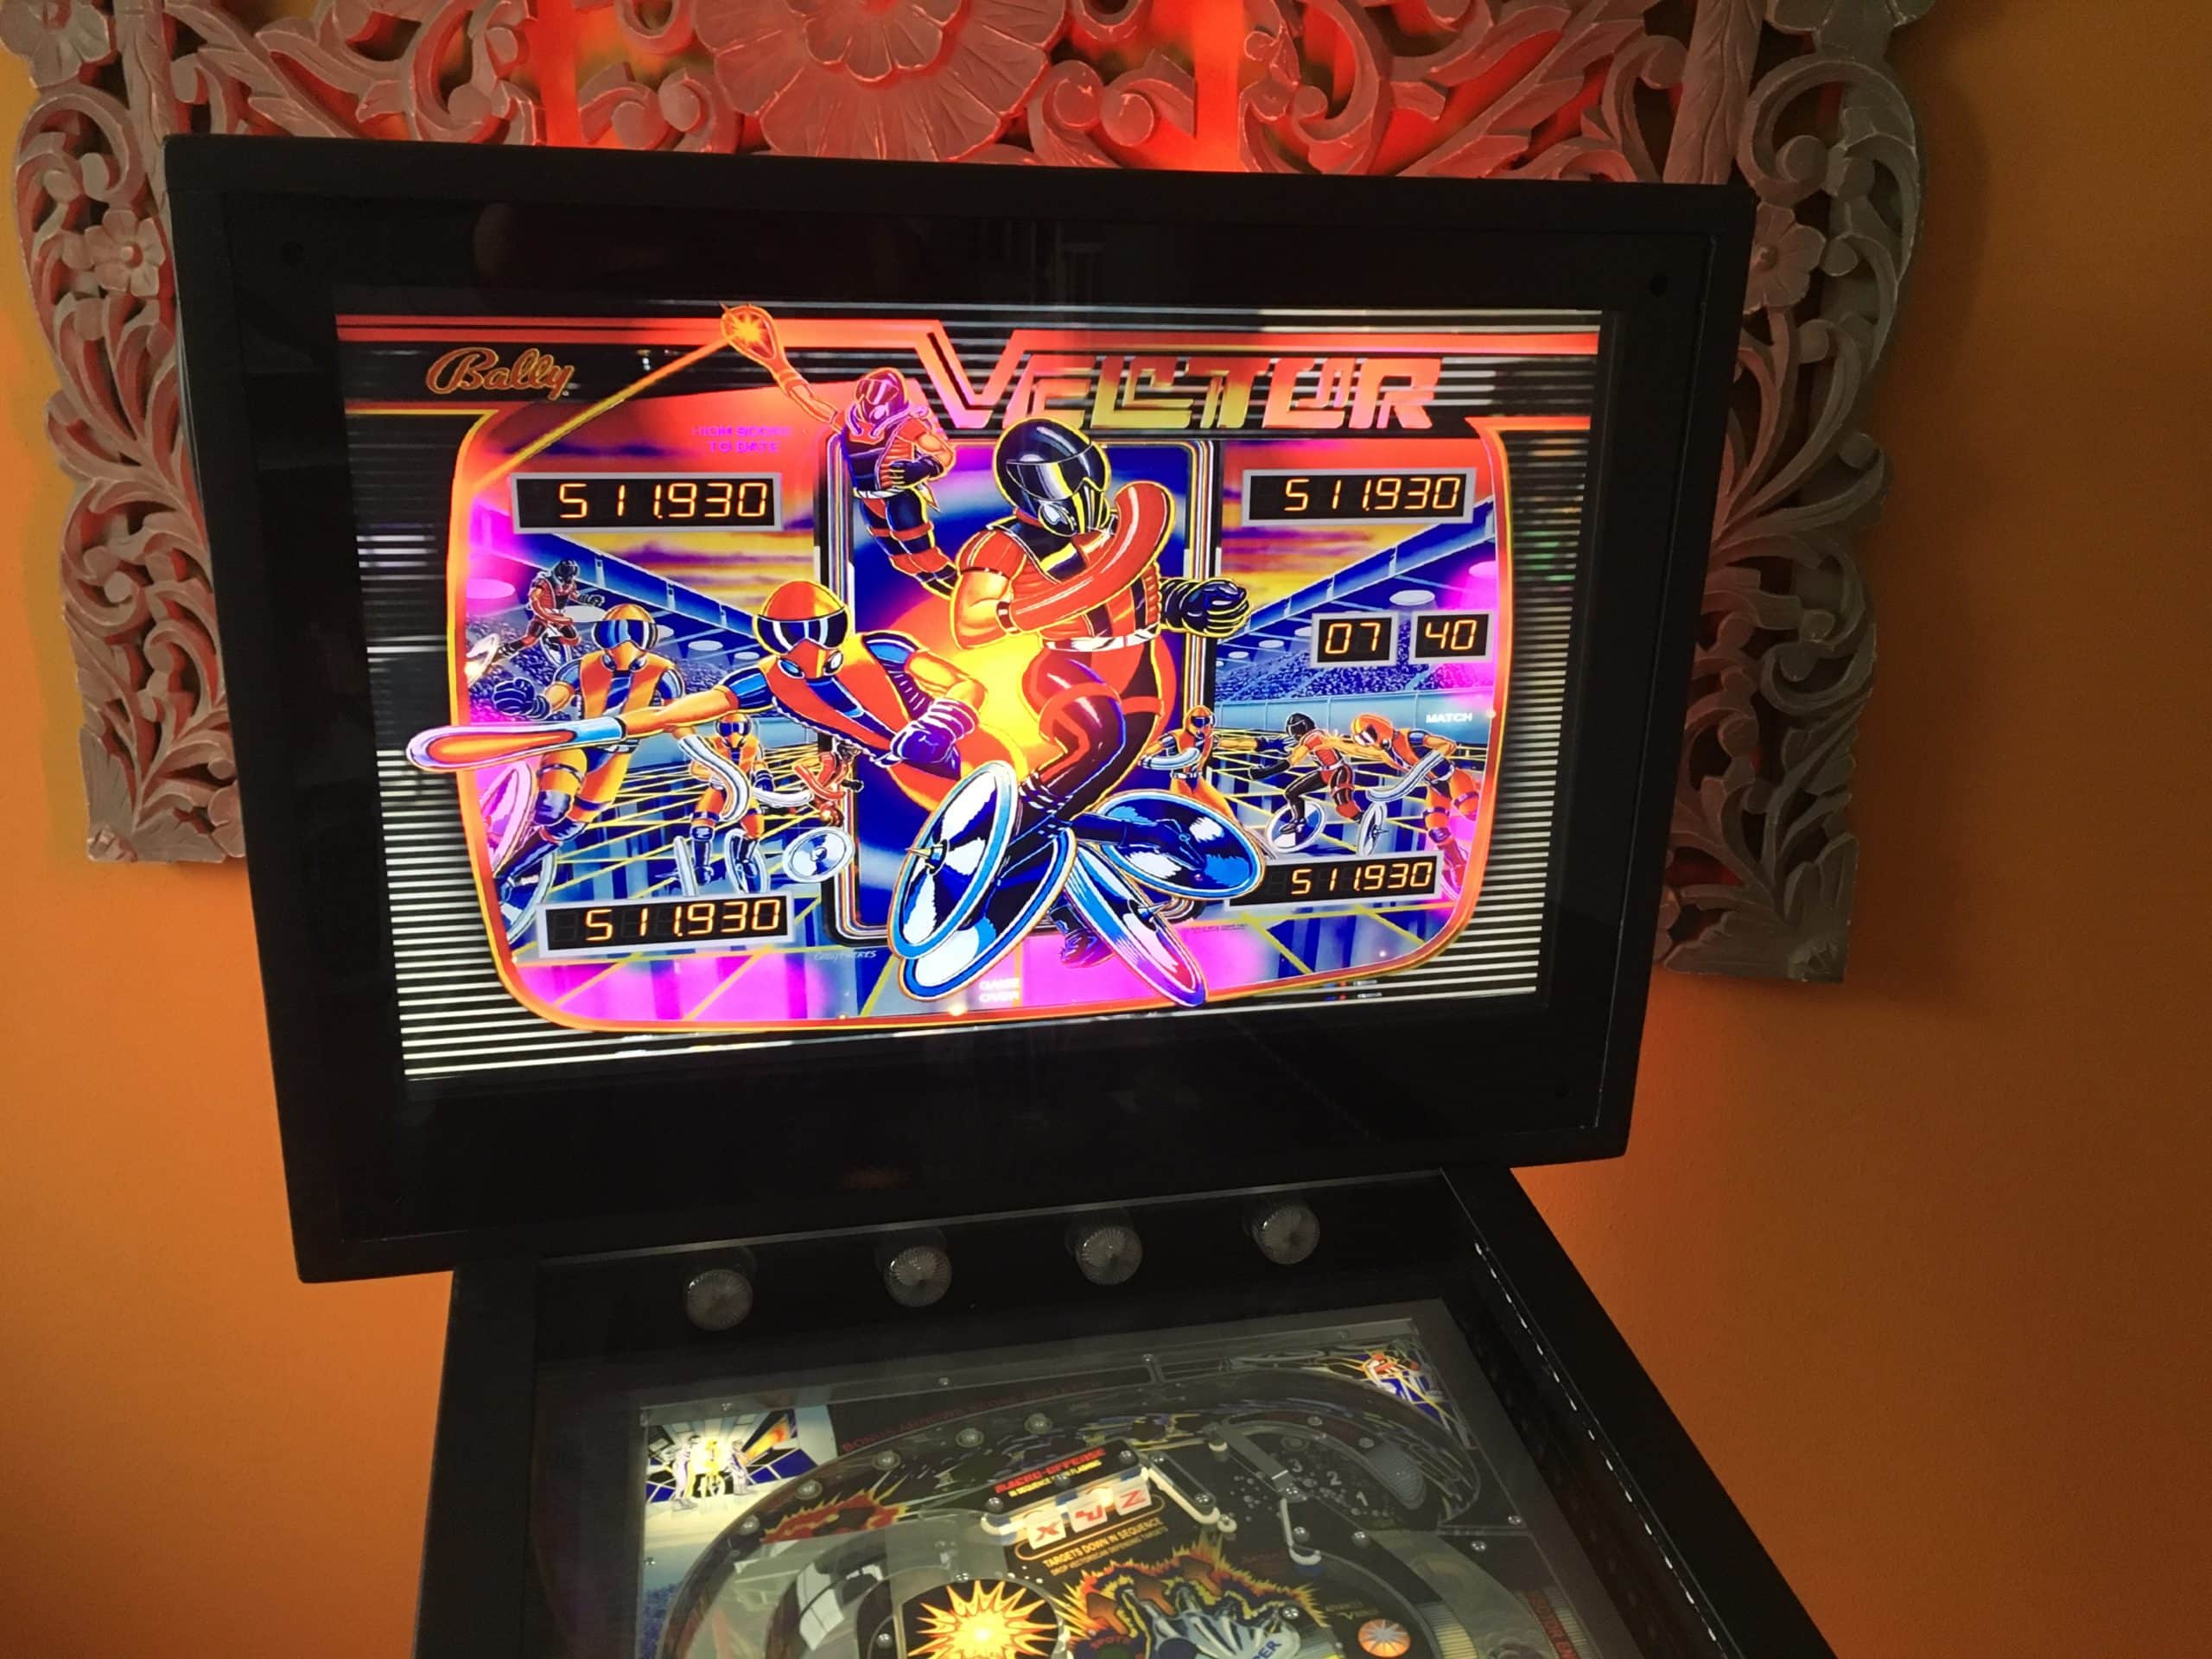
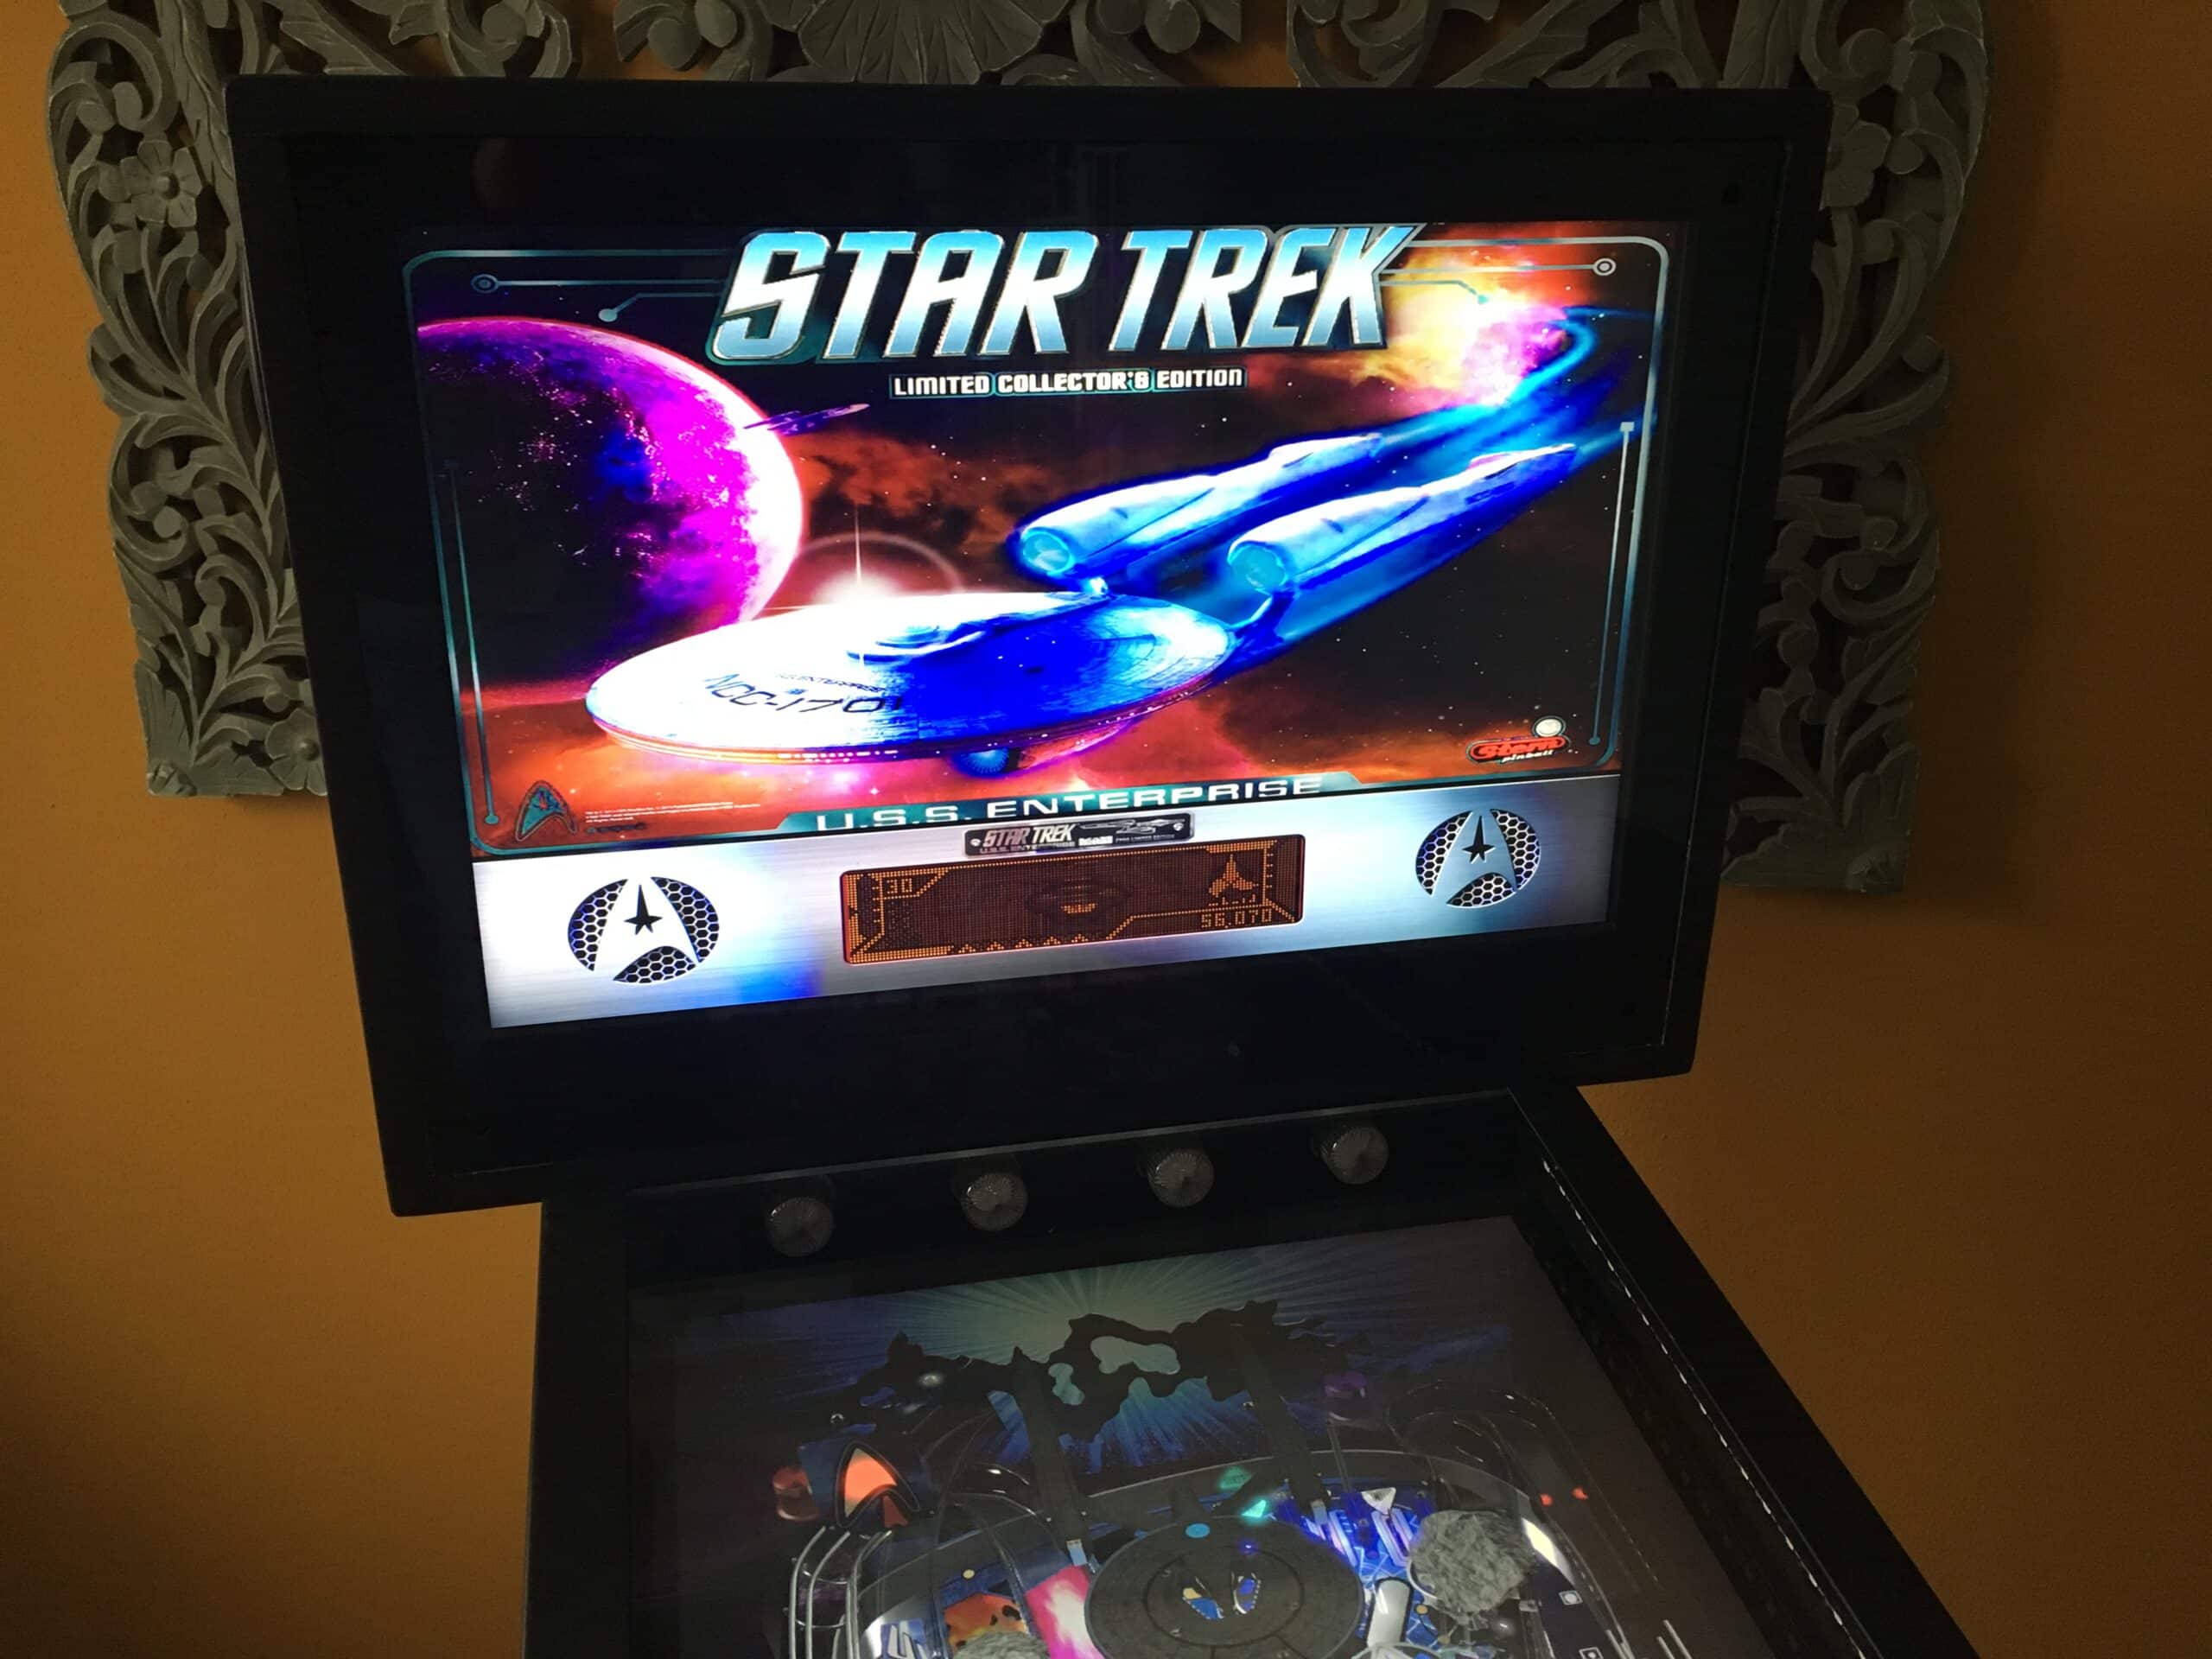
VPins sort of are the pinball machines of the future – they have everything, the old electromechanical pinballs had like “real” clacking of pinball fingers, solenoids, bumpers and toys, real pinball buttons to play, a working manual ball trigger (analogue plunger), even the steel ball moves, when you push the cabinet (nudging and tiling). Not to forget stunning light effects by addressable RGB LEDs You have fancy sound and a lot of flashing.
Parts-List for Virtual Pinball:
In the parts section I’ve made a list of (most) of the parts I’ve installed in my virtual pinball and where I’ve bought them: Virtual Pinball machine parts list.
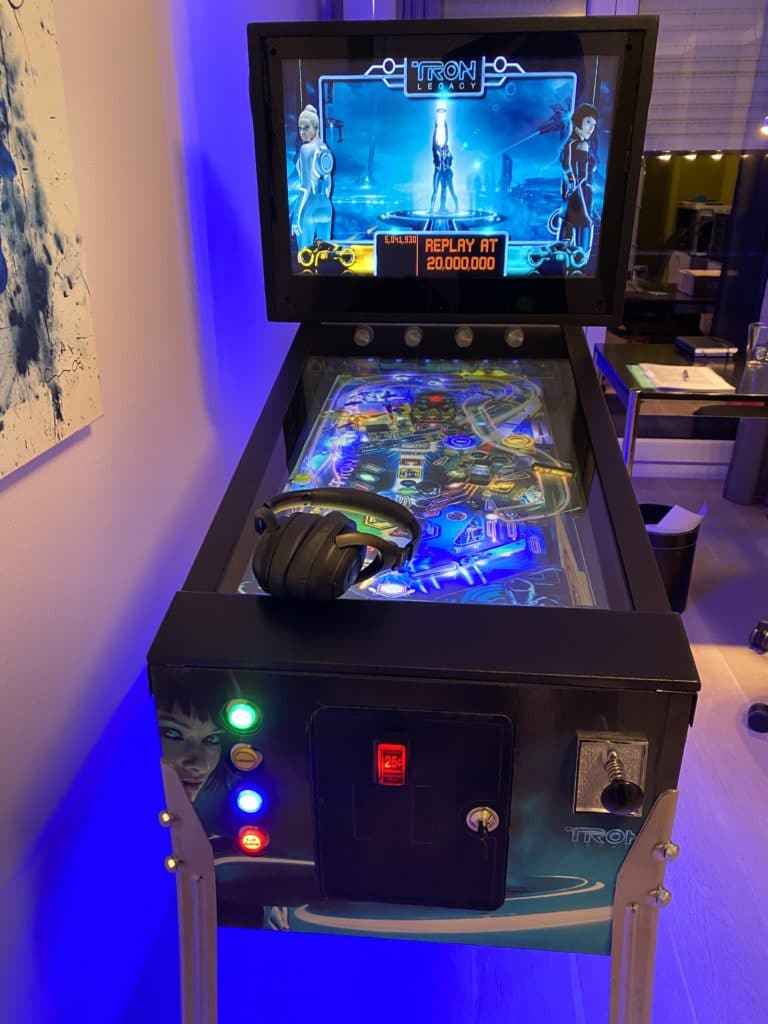
Except that everything is played on a huge screen mounted in a wooden cabinet. Btw. you could even have a coin door – just for optics. No coins needed. With the software set up, you can play as many different tables as you want. For Free. All night long. The beer is real, of cause.
Electromechanical pinball machines have always fascinated me. As a young boy, I was allowed to play regularly on a mechanical pinball at a friends home. The clacking sounds and lighting effects when the ball shot across the pitch and hit the targets kept us up long nights. Even the technical “smell” of the cabinet was great. Buying a machine out of range. Today, a new machine can cost more than 5.000,- Euro, simple used ones start at about 1.500,- Euro.
Many of the old electromechanicalpinball classics can now can be played on Virtual Pinball Machines with the help of pinball emulators and Software such as VisualPinball or FuturePinball.
The software can be downloaded for free if not used commercially. Passionate pinball fans have “recreated” numerous pinball classics or designed their own pinball tables in painstaking small-scale work.
Real pinball buttons for a perfect illusion
Even if virtual pinball is basically a computer game, it ist not played by keyboard but by the original colored pinball buttons, which are mounted in the wooden cabinet. The steel ball is shot into the play field by an original pinball plunger, which is connected to the software.
When pushing the pinball finger-button, hitting bumpers and targets with the silver ball, the cabinet will give a mechanical feedback to the player. Solenoids (“clack, clack”) and other sound-toys likes bells will make playing a very realistic, fun experience.
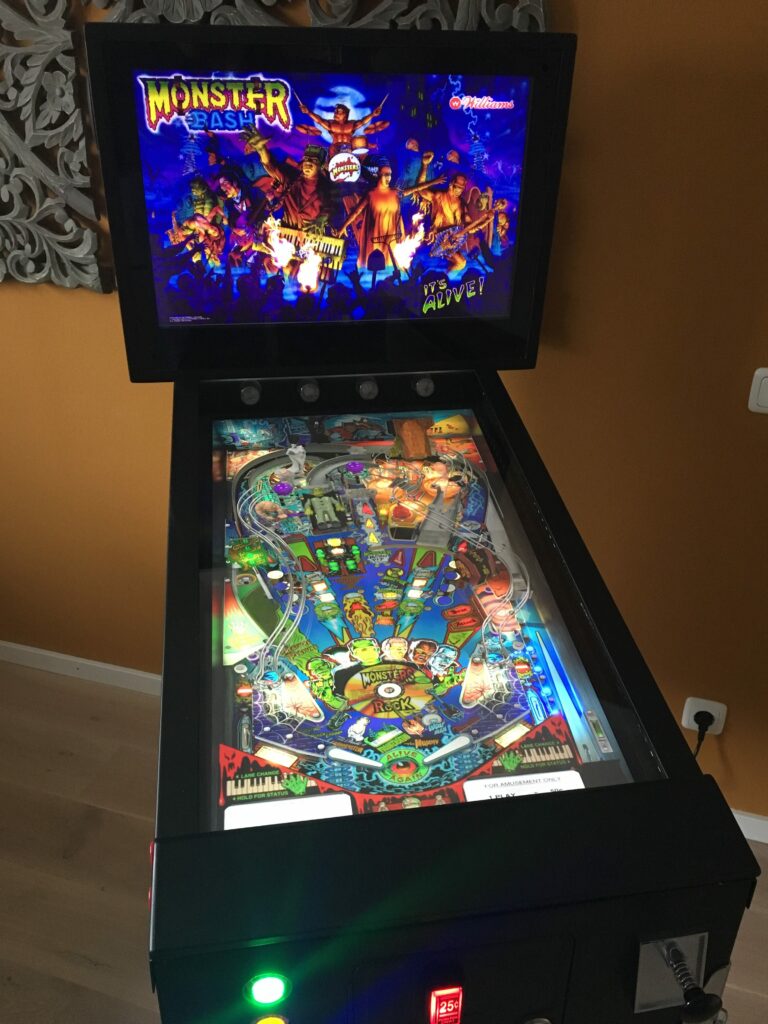
In this project blog I will try to document my approach to building a virtual pinball cabinet. Having finished it by now, I am very happy with the result and I am very glad if I can help you and other cabinet builder with pictures and videos. I will not go into all depths of documentation though, as there are a lot of very helpful pages by great people out there – but I will give you the links that helped me most.
3 (4) steps to your own virtual pinball table:
The build of a virtual pinball cabinet basically consists of three phases
- Installing all required (free) software on a powerful PC
- Physical build of the wooden cabinet (or buying a used one an setting it up…)
- Installation and wiring of the pinball buttons, controllers, toys and…
- Step 4 is the most fun: Installing new tables again and again. This step probably never stops.
In retrospect, each of these steps can be very tricky. It took me more than two weeks to get the software running, as it is sometimes poorly documented. Without the help of nice people in numerous forums I, probably wouldn’t have worked out.
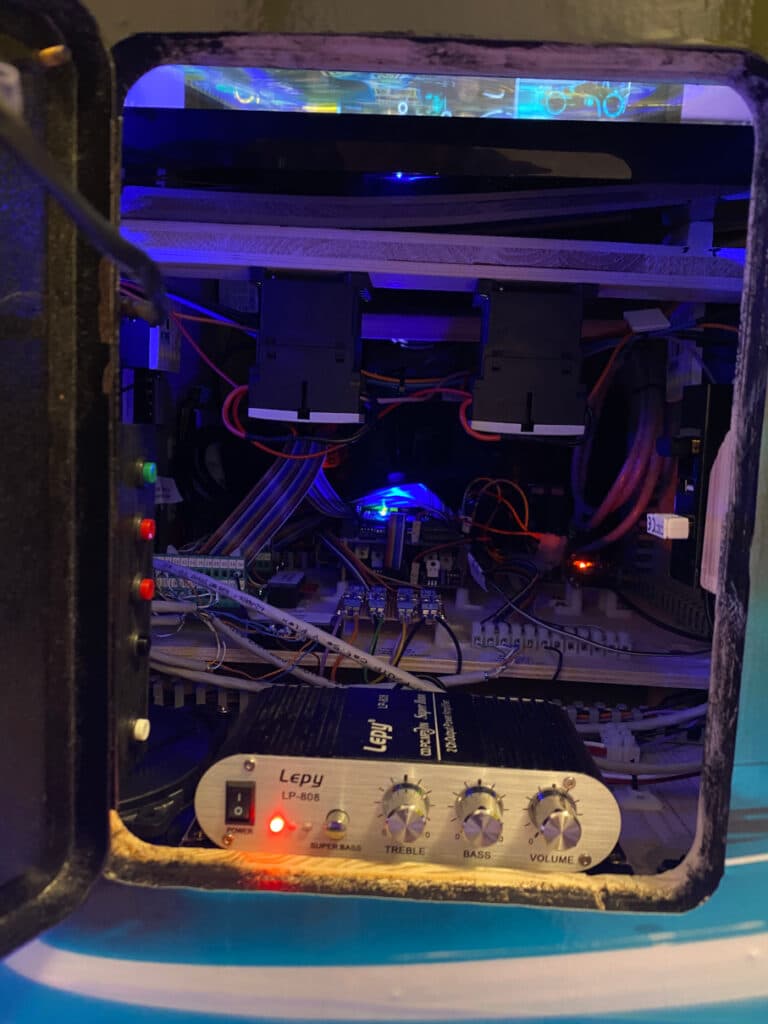
The build of the pinball cabinet itself was very fun, but I had to buy some serious tools (keyword “forstner drill bits”). I am happy to pass on the many helpful tips from my father-in-law Fritz who helped me a lot in the given place.
Please feel free to comment on this pages. It would be nice to see, if my blog is helpfull for others.
Have fun building your Virtual Pinball Cabinet!
Till
Munich/Germany
Part 1 of the Tutorial:
Virtual Pinball Woodwork – building the cabinet…
How much time does it take to build the virtual pinball cabinet?
I had read in many other building reports that the tinkerers worked their machines for months and, in some cases, years. My plan was to be ready in 4 weeks. Far from it. After 6 months I can now say “project (almost) completed.” On the one hand, there are often only a few hours left each week to build, and it is a good point to think about complicated setups for a few days in order to arrive at a good solution. (Keyword: Hinged monitor mount). It took me a lot of time to install the software, which often did not run in conjunction with the installed boards. Ad shipping: some buttons took 2 months from the US to Europe.
Allow me to issue a “warning” from my own experience at this point: If you are playing with the idea of building your own pinball, you should be aware that this is not a project of a few days. Set yourself up for months!
And somehow try to gain the understanding of your wife or partner for this project to be your life. Otherwise stop reading at this point and continue playing pinball on the PC. It is nice, too.
Another disclaimer:
This is a project of pure leisure. All information is without warranty. I do not accept any liability for the accuracy of the information, procedures or resulting damage ;-))
And another hint about transparency: As far as possible, I will place links to shops like Amazon.de, Voelkner, Conrad, etc., where I bought my stuff and can recomment it. The links may be affiliate links. So if you order something following the link, I get a little commission going into the piggy bank for the next pinball table. Thanks for that;-).
Next: Part 1 of the Tutorial
Virtual Pinball Woodwork – building the cabinet…

Comments (5)
Nigelsays:
19/01/2022 at 21:50Sorry if I’m missing this, but what have you ended up spending on this build.
Love it btw!
Thanks!
vpintill74says:
19/01/2022 at 22:10Hi Nigel, thanks for your post. At some point, I’ve stopped making notes. Guess about 2.000,- Euro. And a lot of time ;-)) Till
Tony Waldronsays:
09/10/2019 at 10:44Just wanted to say thank you.
I’ve Pinterested some of your steps (it will be up to those interested to browse you site for more info) hope you don’t mind.
Great tutorial.
vpintill74says:
25/12/2019 at 19:41Hi Tony,
thanks for posting – glad if this tutorial was of a little help.
Till
Nieuwe build serie “ontdekt” – Virtual Pinballsays:
27/04/2019 at 21:28Thanks Theo for linking:
[…] Bij een van de struin tochten op internet kwam ik een interessante serie van negen artikelen tegen over de bouw van een flipperkast. Hierin staan allerlei handige ideeën en tips. Ik heb de links naar de diverse onderdelen toegevoegd op de links pagina, maar hier is de link naar de start pagina […]