The heart of a virtual pinball machine is a powerful computer with a fast graphics card and sufficient memory. In addition to graphic power, compact dimensions of the board were important to me, as the space in a mid-size cabinet is limited.
Running a 2 monitor setup, I can recommend the following PC configuration (also see component overview of the pinball project):
- Board: MSI B350M PRO-VDH mATX Mainboard Socket AM4 GL/SATA600/M.2/VGA/DVI/HDMI (Amazon.de)
- CPU: AMD Ryzen R5 1400 (4x 3,2/3,4 GHz) 8MB Socket AM4 CPU BOX (Amazon.de)
- Memory: 8GB (2x4GB) Ballistix Sport LT DDR4-2400 CL16 (16-16-16) RAM Kit (Amazon.de)
- Graphics Card: MSI GeForce GTX 1050Ti 4GT LP 4GB GDDR5 DVI/HDMI/DP Low Profile Graphics Card (Amazon.de)
- Power Supply: be quiet! Pure Power 10 ATX 400W PC Netzteil. (Amazon.de)
- Case: Sharkoon CA-I Mini-Tower Aluminium PC-Case / Cube (Mini-ITX, 2x USB 3.0, 2x USB 2.0) black (Amazon.de)
- Backup HD: WD Elements Portable, external HD – 1 TB – USB 3.0 (Amazon.de)
Partslist for Virtual Pinball:
I’ve put together a list of the parts used in this pinball: Bauteilliste Virtual Pinball.
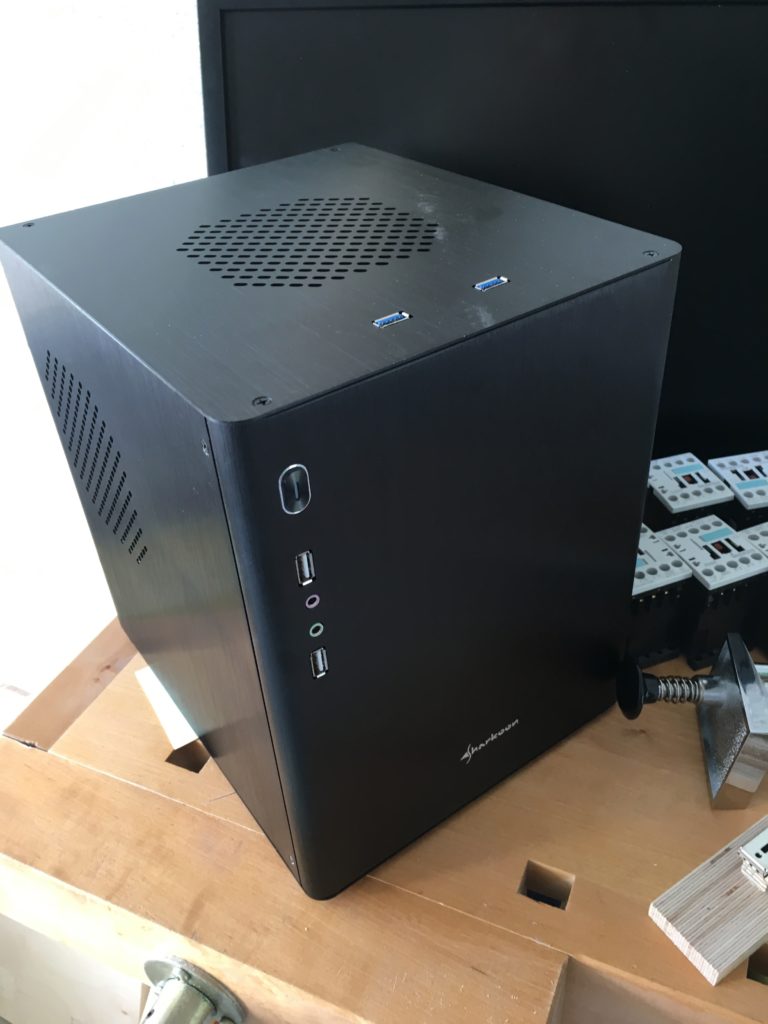
For safety reasons, I decided not to have an uncovered PC board installed in my cabinet. Too easy a falling screwdriver might do some serious damage as well as some cropped pieces of cable might trigger a short circuit. In addition, the 220V power supply is also neatly installed in a Mini-Tower.
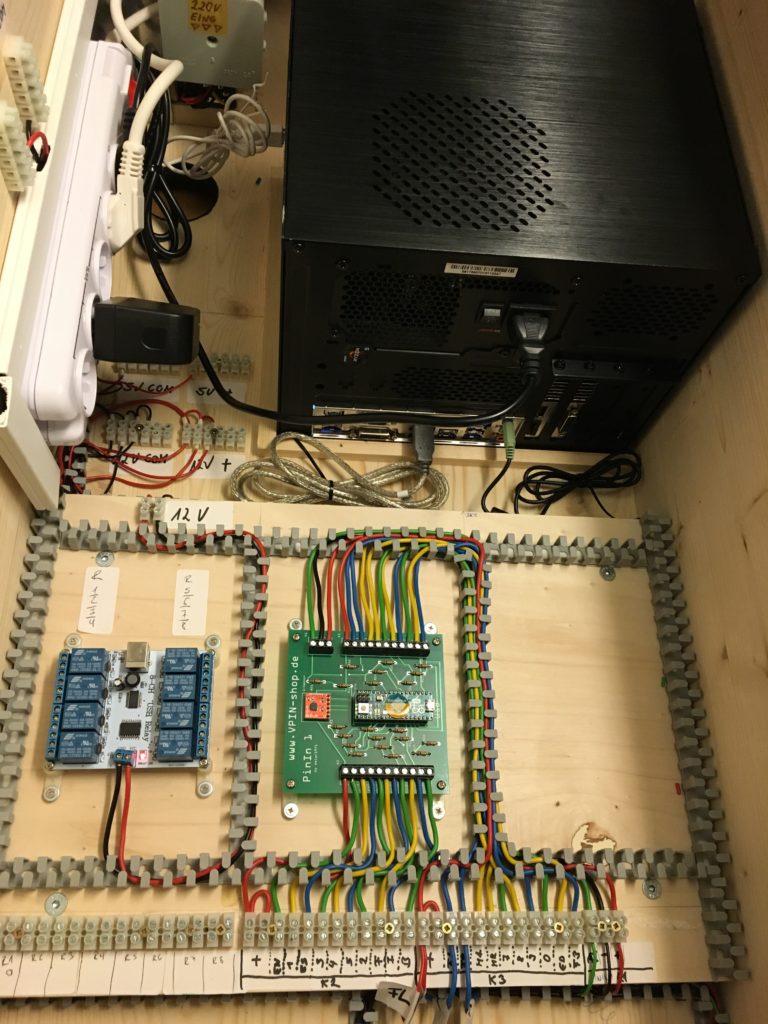
Power supply of virtual pinball with master-slave single button system-power-up
The basic idea was to power up the entire virtual pinball machine, PC, 2 monitors as well as the additional required power supplies for controller-boards, toys and button lighting via a single push-button at the bottom of the cabinet.
To archive this, I used a Master Slave power strip (EnerGenie PCW-MS2G, 5x socket bar, USB master slave). The plug strip is connected to the 220V in-connector of the cabinet. The PC is plugged into the “master socket” of the strip and the USB cable of the power strip into a USB-port of the PC. All other devices (monitors, power transformers for 5V, 12V, 24V, sound system) are plugged in the slave ports of the strip.
If the computer is powered up, it will trigger the master-slave power strip via USB and hence this automatically powers up all other devices connected to the slave ports as well. The short delay will make sure no fuse goes up in flames.
To make the PC’s power-on button accessible from the outside, I connected the pins of the power-on switch on the motherboard with a red LED push-button on the bottom of the cabinet. The LED lighting is connected to the 12V supply in the cabinet. If power support is on, the LED will lighten up.
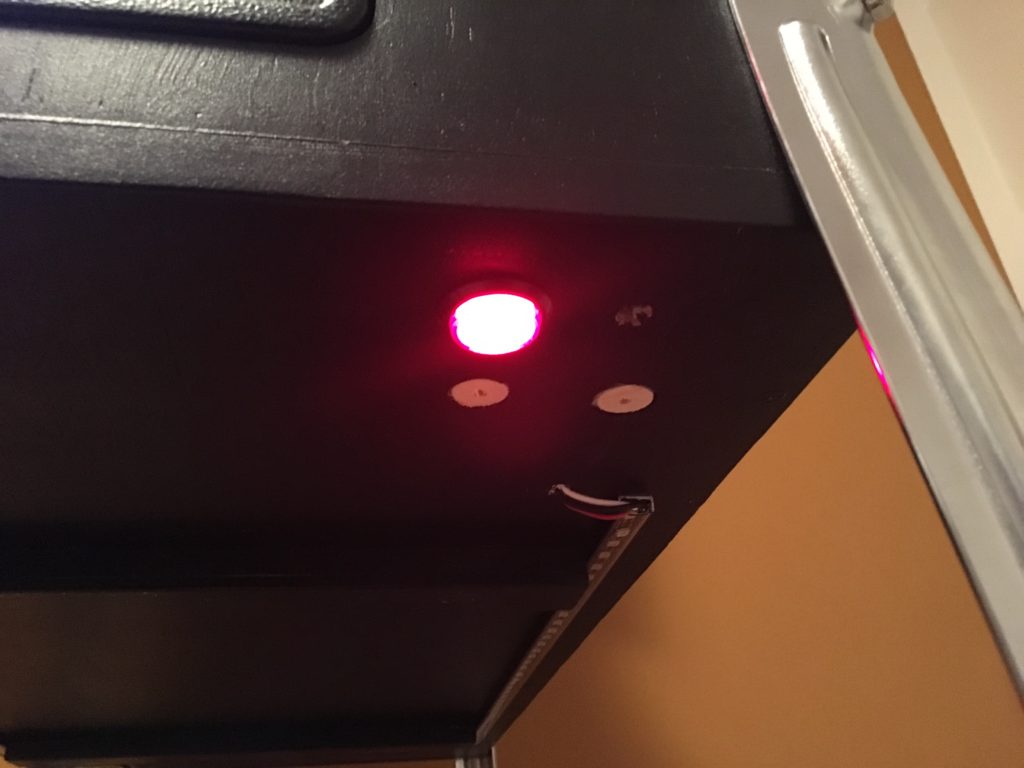
Conversely, it works the same way: Longer pressing on the button, shuts down the computer and the master-slave strip will switch off all devices. The LED button is turned off.
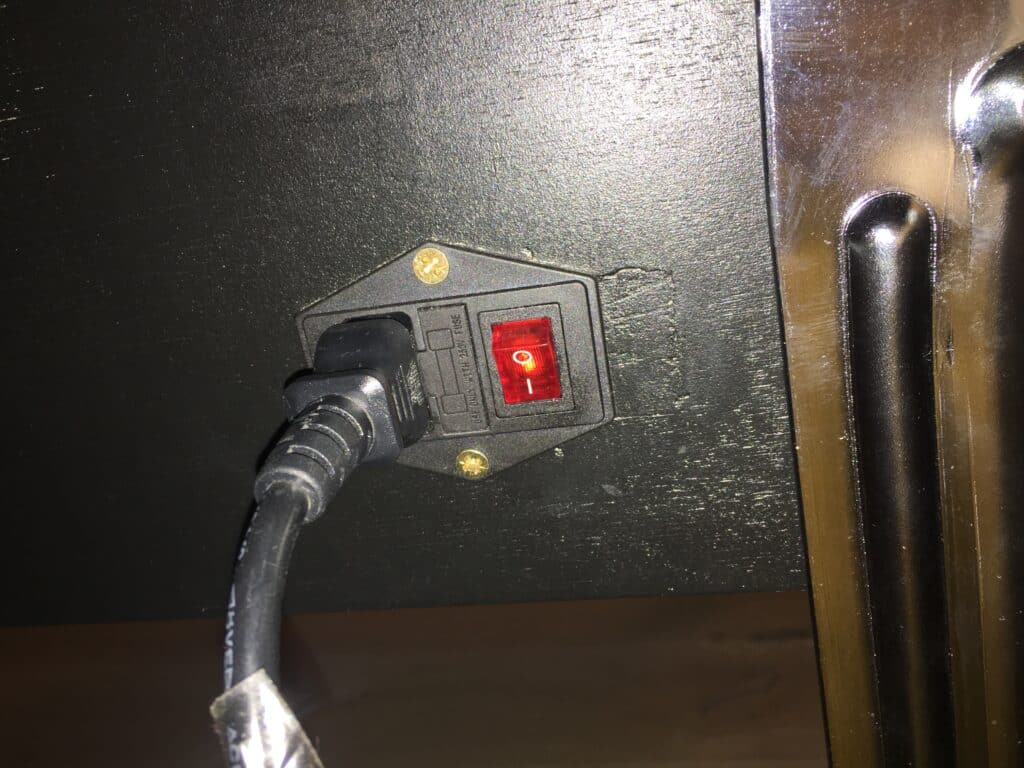
How to manage low volt power supply in the Pinball Cabinet
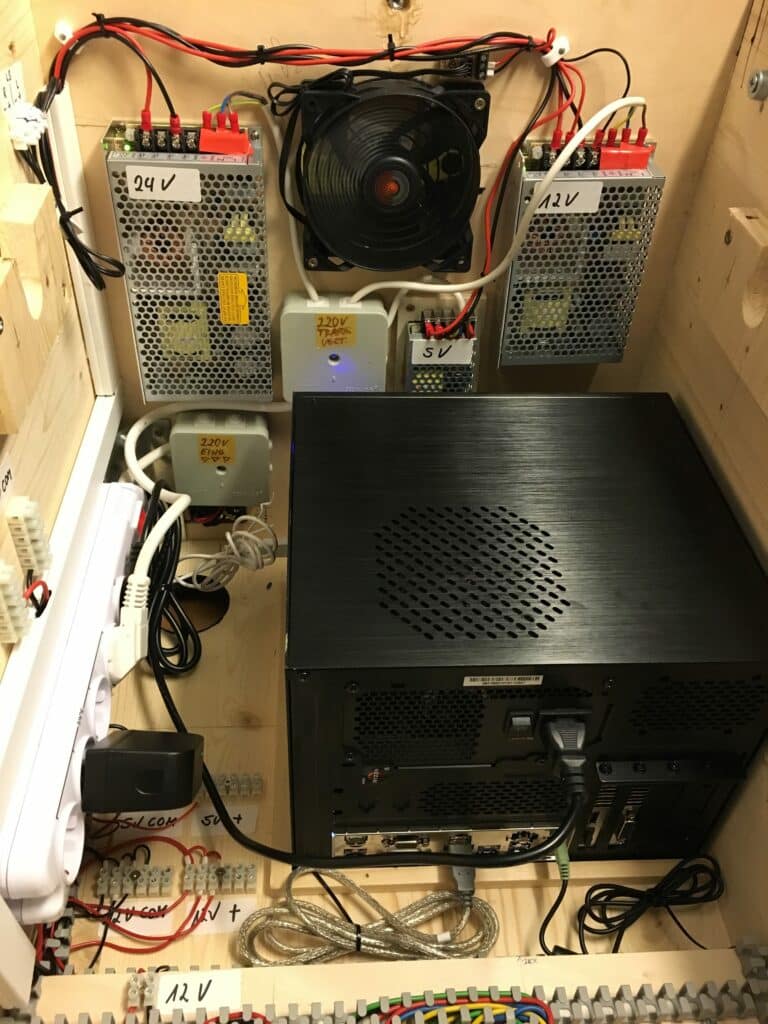
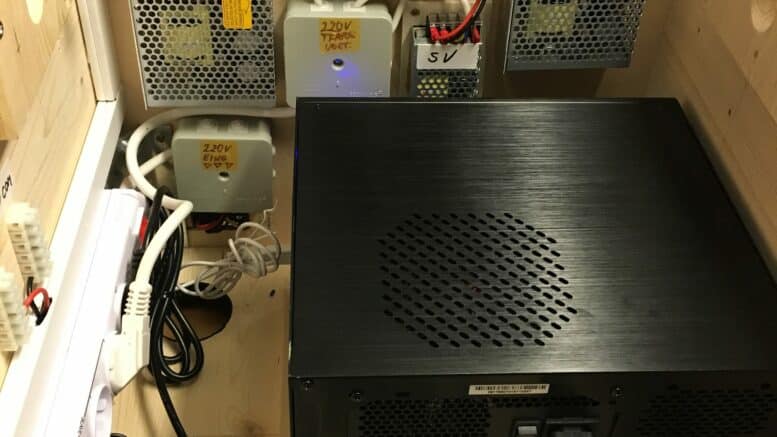
In addition to the 220V devices PC and monitors, all boards, toys and lighting run on either 5V, 12V or 24V. For this purpose, three power-supplies (trafos) were mounted at the back of the cabinet (for type see pinball component list).
The two PC fans for intake and exhaust air are connected directly to the 12V power supply. My controller boards run on 5Vs. Only the solenoids (contractors for force feedback, bumpers, flippers etc.) are more power hungry running on 24V.
Next part:
Part 7: Cable Management in a Virtual Pinball Cabinet – neat and tidy…

Will this setup run 3 monitors?
Hi Mile, depends on the computer, you’re using. I haven’t tried a 3 monitor setup but I do not have any delays on my system. So I guess 3 screens would work. Have fun with your build! Till
has the graphics card held up for you? It looks to have terrible specs compared to other recommended options.
https://www.game-debate.com/gpu/index.php?gid=4015&gid2=3669&compare=Nvidia%20GeForce%20GTX%201070%20Ti-vs-Nvidia%20GeForce%20GTX%201050%20Ti%204GB
Hi Derek,
so far no problems here – gameplay is smooth, no stutter or delay.
Till